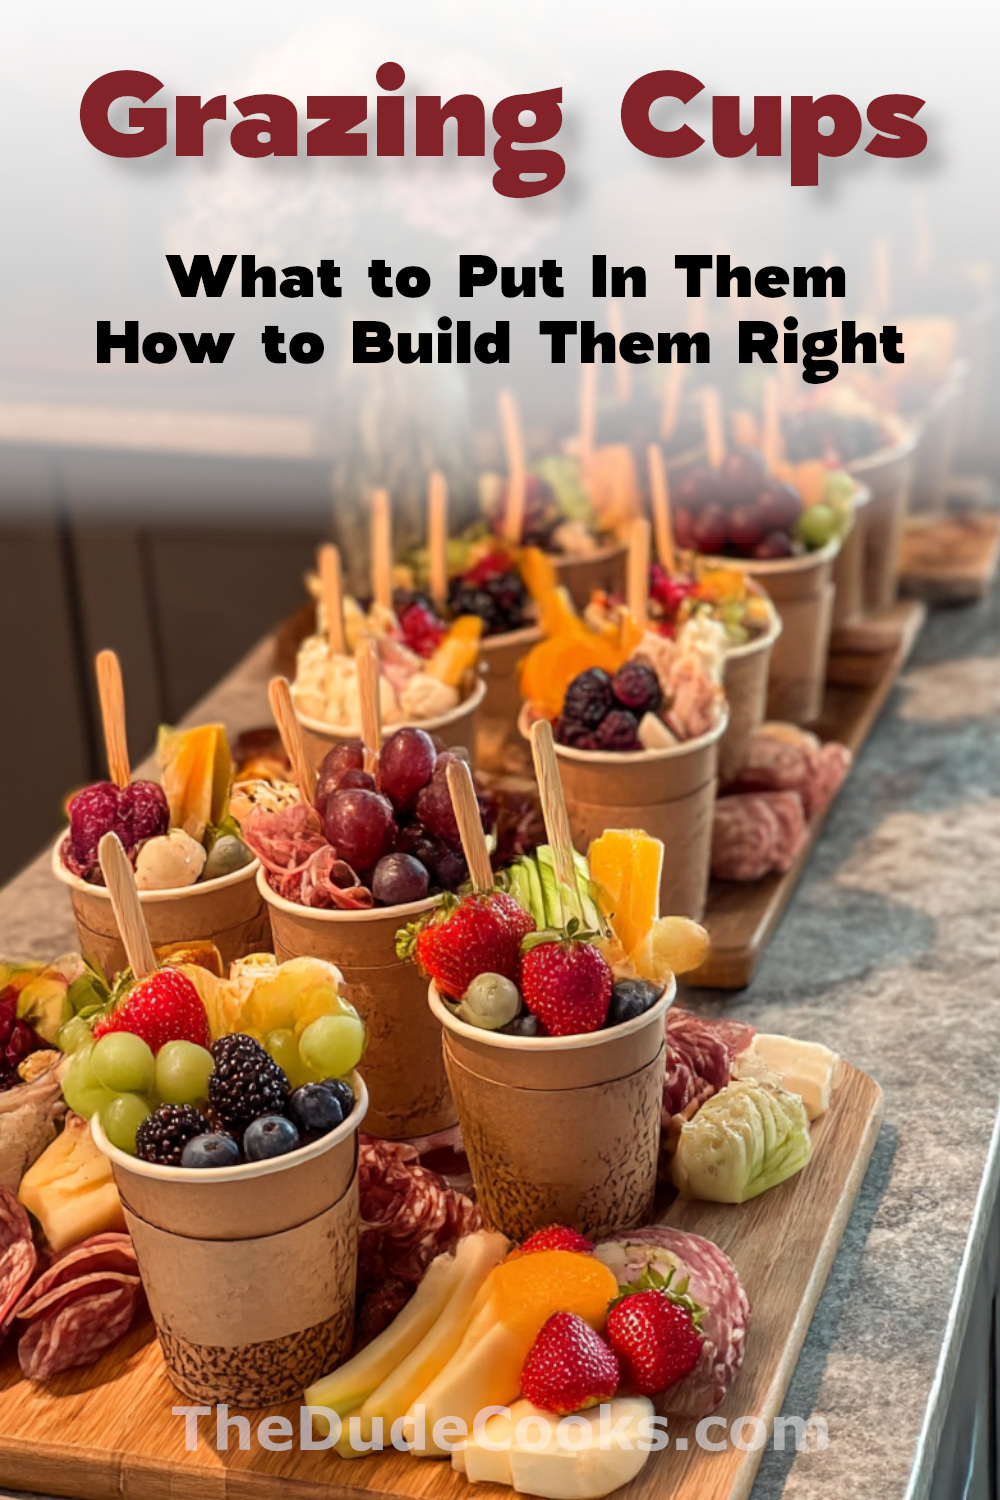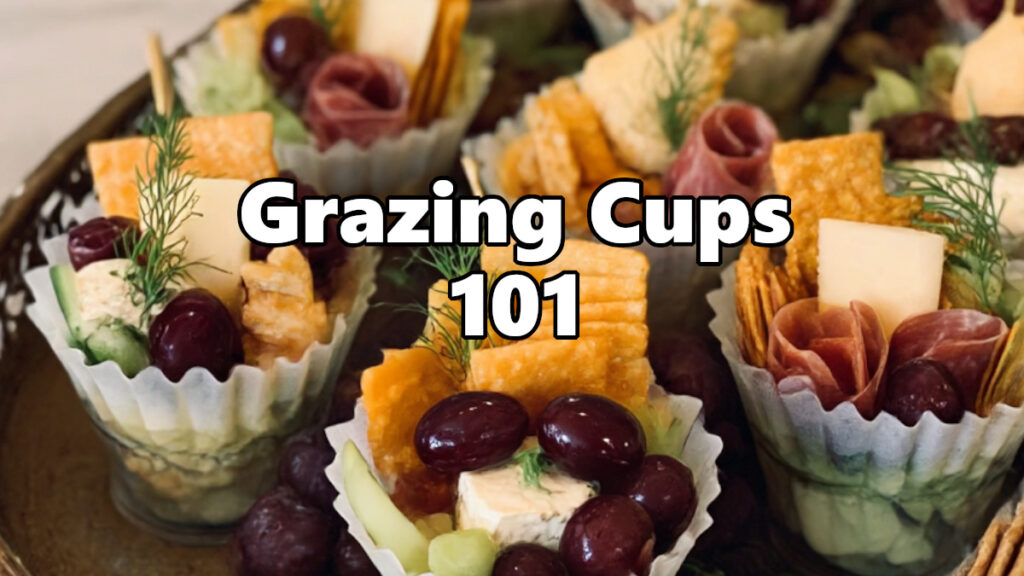
Charcuterie boards are great until someone’s elbow is hovering over your side of the board and you’re not sure whose cracker that is. Grazing cups solve the whole problem. Individual portions, no hovering, no awkward plate-juggling while you’re trying to hold a drink and have a conversation. Just grab a cup and go.
They’ve blown up on social media for good reason. They look impressive, they’re actually pretty easy to put together, and guests genuinely appreciate having their own personal setup. Here’s everything you need to know to pull them off.
What Are Grazing Cups?
Grazing cups are exactly what they sound like: individual-sized cups filled with the same stuff you’d put on a charcuterie board. Meats, cheeses, crackers, fruit, olives, nuts — whatever combination you want. The difference is that each person gets their own instead of sharing from a communal board.
The term “grazing cup” and “charcuterie cup” are used interchangeably. Same concept. Some people use “snack cup” for the kid-friendly versions without the cured meats. Call them whatever you want — people are going to eat them either way.
Why They Work So Well
Beyond the hygiene angle, grazing cups have a few things going for them that a board doesn’t.
Portion control is built in. You’re not trying to figure out how much food to put out per person. Fill a cup per guest and you’re done. Need more? Make more cups. Easy math.
They travel well. Setting up a grazing board at the destination is a headache. Cups can be assembled ahead of time, covered with plastic wrap, refrigerated, and transported without disaster.
Dietary restrictions become a non-issue. Got someone who doesn’t eat pork? Someone who’s gluten-free? Just make a few cups with different contents and label them. No cross-contamination concerns, no awkward conversations at the food table.
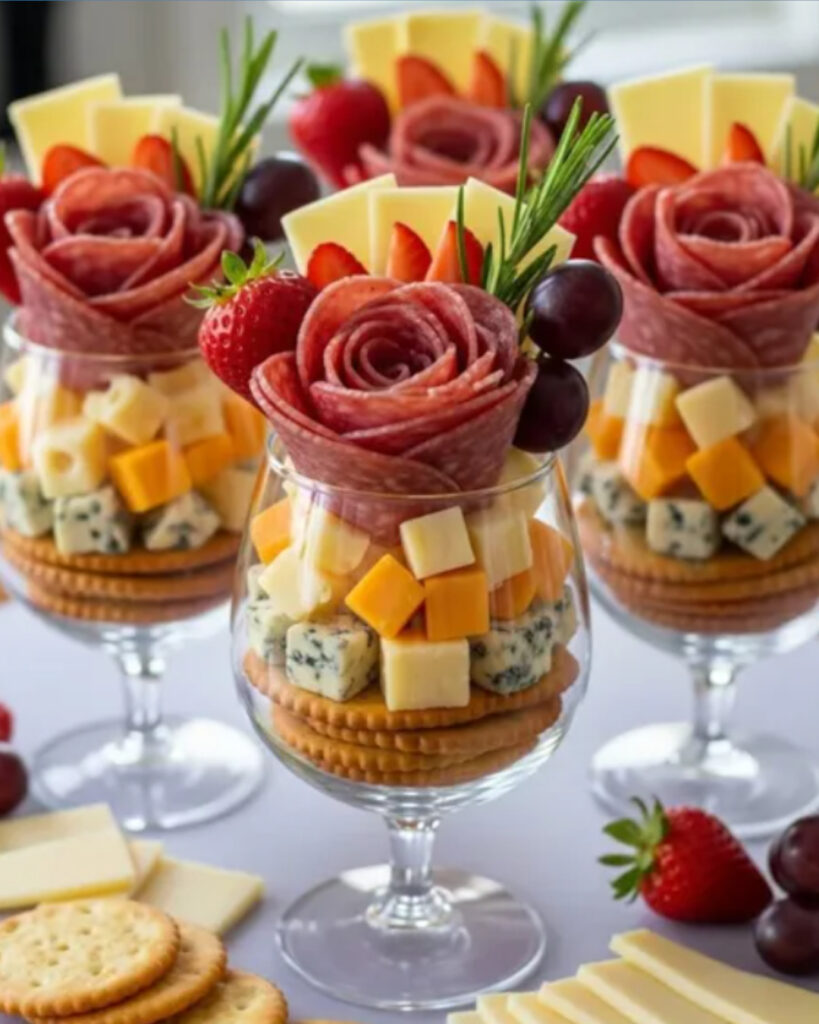
They photograph well. If your crowd is the type to take pictures of food (and honestly, who isn’t at this point), these things are made for it. Tall crackers sticking up out of a cup with a salami rose on top is just a better photo than a flat board.
Cleanup is faster. Toss the disposable cups, done. If you’re using mason jars or ramekins, just throw them in the dishwasher.
Picking Your Container
The cup you use sets the whole look, so this decision matters more than you’d think.
Clear plastic cups (9-12 oz) are the workhorse option. You can see all the layers, they’re cheap, and they hold a good amount of food. Great for large parties where you’re making 20+ cups and don’t want to think about it too hard.
Mason jars give you a more rustic, farmhouse look. Quarter-pint jars are solid for smaller portions; half-pints if you want something more substantial. The glass also keeps things colder longer, which matters if you’re serving outside.
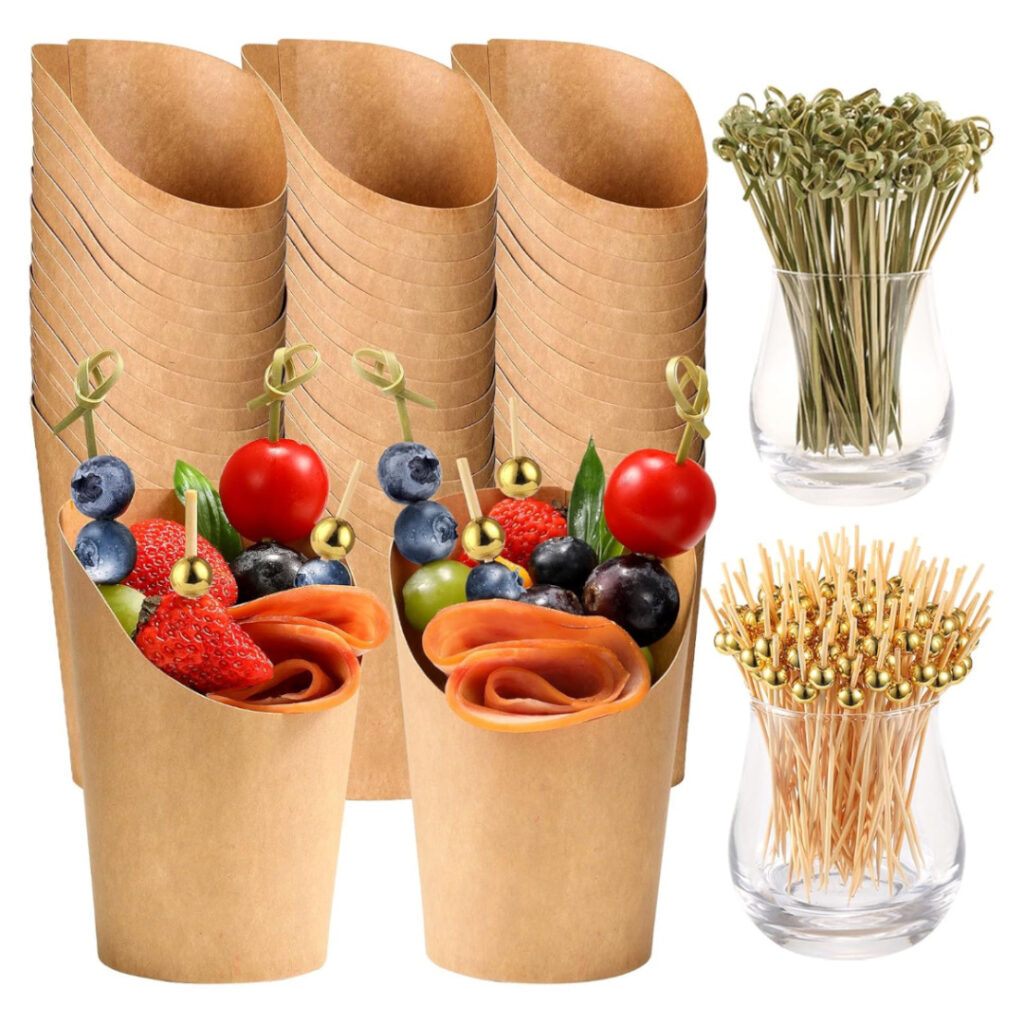
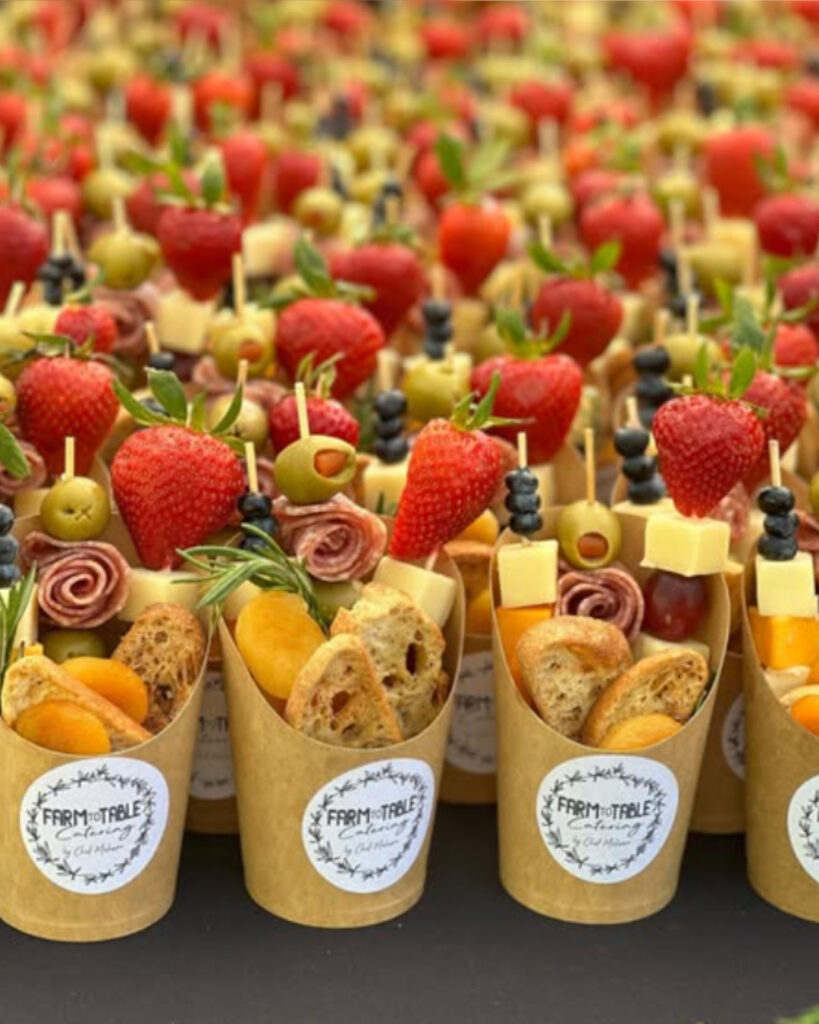
Cone-shaped paper cups are the ones you’ve probably seen all over Pinterest and Instagram — that tall, funnel shape that makes everything look like a little bouquet. They’re great for cocktail parties where guests are standing and mingling. The height makes them visually dramatic.
Small ceramic ramekins or glass bowls work well if you want something reusable. They feel more upscale than disposable cups and are a good call for smaller dinner parties.
Patterned paper cups are the budget-friendly, festive option. You can find seasonal ones at any party supply store. Good for kids’ parties and casual backyard stuff where you’re not going for elegance.
The general rule: clear or glass for events where presentation is everything, paper or disposable for casual gatherings and outdoor events, cones when you want maximum visual impact.
The Basic Building Blocks
Every grazing cup should hit a few different flavor and texture notes. Here’s the breakdown:
Meat (1-2 types): Salami, pepperoni, prosciutto, or summer sausage. Roll salami slices into tubes or fold them accordion-style so they stand up in the cup. For prosciutto, you can fold it loosely or roll it around a cheese cube.
Cheese (1-2 types): Cut into cubes or small wedges so they’re easy to grab. Mix a firm cheese with a softer one when you can — cheddar or gouda pairs well with brie or fresh mozzarella. Variety in texture makes a better cup.
Crackers: The structural element. Stand them upright against the side of the cup so they’re accessible without digging. Use sturdy crackers that won’t get soggy fast — thin, delicate crackers don’t hold up well once they’re packed in with other items.
Fresh fruit or vegetables: Red grapes, cherry tomatoes, strawberries, cucumber slices. These add color and freshness and break up all the rich, fatty flavors from the meat and cheese.
Briny/pickled items: Olives, cornichons, pepperoncini, pickled jalapeños. These are flavor bombs that balance the richness. A couple goes a long way.
Nuts or dried fruit: These fill in gaps and add another texture. Almonds, cashews, candied pecans, dried cranberries, or apricots all work well.
Something sweet: A small piece of dark chocolate, a drizzle of honey, or a honey packet tucked in the side. This is what pushes a grazing cup from good to great. That sweet-salty balance is the whole point of a good charcuterie board, and it applies here too.
How to Actually Build One
This is where most people overthink it. The process is simple.
Start with your crackers. Stand 2-3 crackers upright against the inside edge of the cup — they’ll lean against the cup wall and stay in place. This is your backdrop.
Add your bulk items next. Cheese cubes and rolled meat go in together to fill the middle of the cup. These are your largest items, so get them settled before you add the small stuff.
Fill in the gaps with your fresh items. Grapes, cherry tomatoes, and cucumber slices tuck in easily around the meat and cheese. Push them down slightly so they’re secure.
Drop in your extras. A few olives, some nuts, a piece of dried fruit. These should be visible when someone looks at the cup from above.
Add your visual element last. A salami rose on top, a sprig of fresh rosemary, a toothpick with an olive skewered on it. This is what makes the cup look intentional rather than just thrown together.
The salami rose: Stack 4-5 slices of salami slightly overlapping along the edge of a glass. Roll them tightly together, then flip the glass over and the rose pops right out. It holds its shape better than you’d expect.
8 Grazing Cup Ideas to Get You Started
Classic Savory Cup
The no-fail baseline that works for any occasion.
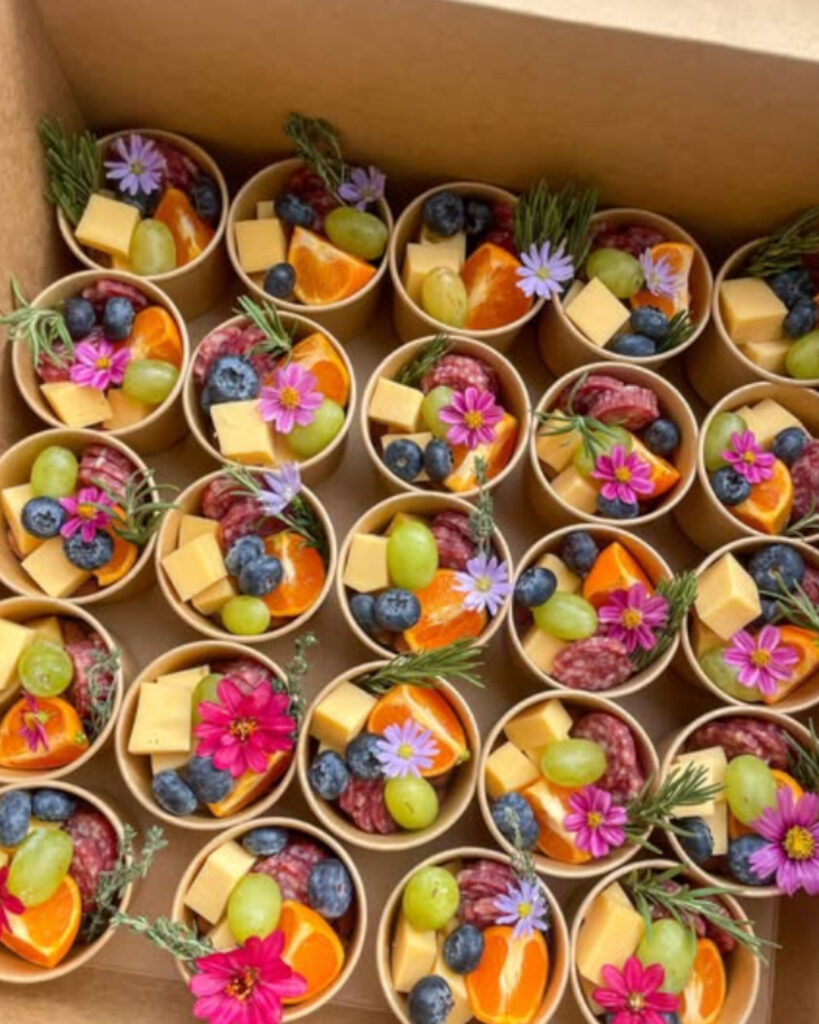
Salami and pepperoni rolled into tubes, cheddar and gouda cubes, sturdy crackers, red grapes, cherry tomatoes, green olives, and a handful of almonds. Finish with a salami rose on top.
Italian Cup
Lean into the deli counter.
Prosciutto and salami, fresh mozzarella balls, cherry tomatoes, fresh basil leaves, breadsticks or crostini standing tall, Castelvetrano olives. Add a small condiment cup of balsamic glaze for dipping. The basil makes it smell incredible.
Mediterranean Cup
Hummus goes in the bottom first so it acts as a built-in dip.
Feta cubes, hummus base, pita chips, cucumber slices, cherry tomatoes, kalamata olives, pepperoncini. Works great for guests who don’t eat meat.
Game Day Cup
Hearty and no-nonsense.
Summer sausage chunks, sharp cheddar, pretzels, cornichons, pepperoni, a couple of jalapeño slices. Add a tiny mustard packet or a small cup of mustard for dipping. Skip the delicate stuff — this one’s about bold flavors.
Breakfast/Brunch Cup
For morning events or brunch spreads.
Small croissant pieces or mini muffin halves, fresh berries, brie or cream cheese, honey drizzled on top, candied pecans. Add a few slices of turkey or ham if you want protein. Sweet-forward but not dessert.
Kid-Friendly Cup
Same concept, dialed back for younger crowds.
Mini crackers, mild cheddar cubes, turkey or ham rolled up, grapes cut in half, baby carrots, pretzel sticks. Add a couple of chocolate chips or a small cookie as a treat. Skip olives, strong cheeses, and anything too salty.
Dessert Cup
All sweet, no pretense.
Brownie bites or cookie pieces, fresh raspberries and strawberries, chocolate-covered pretzels, mini marshmallows, a few chocolate chips. Add a small container of whipped cream or Nutella for dipping. Good for dessert tables or as an add-on to a savory cup station.
Wine Night Cup
A step up from the classic, meant to pair with a glass of red or white.
High-quality salami or coppa, aged cheddar and brie, fancy crackers, green and red grapes, fig jam in a small condiment cup, walnuts, and a few dark chocolate pieces. This one’s about quality over quantity.
Prep Ahead Tips
Grazing cups are actually better when you make them ahead. Here’s how to do it without ending up with soggy crackers.
Assemble everything except the crackers up to 4 hours in advance. Cover each cup tightly with plastic wrap and refrigerate. Add the crackers within 30-45 minutes of serving so they stay crisp.
If you’re making a large batch, set up an assembly line. Fill all the cups with crackers first, then go back through and add cheese, then meat, then fruit, and so on. It’s much faster than building one cup at a time start to finish.
What holds up well overnight: Cheese cubes, cured meats, olives, nuts, pickles, dried fruit, chocolate.
What doesn’t: Fresh cut fruit (it can get mushy), fresh herbs (they wilt), and crackers (they go stale or soggy). Add these last minute.
Presentation Tips
A tray of cups lined up in rows looks significantly more intentional than cups scattered around a table. This is a small thing that makes a big visual difference.
If you have a tiered cake stand or a riser, use it. Cups at different heights look better than everything at the same level.
Small labels are helpful for parties with dietary restrictions. A little handwritten flag on a toothpick that says “vegetarian” or “gluten-free” goes a long way and saves you from fielding 15 questions.
A few sprigs of fresh rosemary or thyme laid across the tops of the cups on the tray makes the whole spread look polished without extra effort.
What to Buy and How Much
For a party where grazing cups are the main appetizer, plan on one 10-12 oz cup per person. If they’re being served alongside other food, one cup per 1.5-2 people is usually enough.
For a batch of 12 cups (classic savory style), you’re roughly looking at:
- 6 oz salami
- 6 oz pepperoni
- 8 oz mixed cheese (cheddar + gouda)
- 1 box sturdy crackers
- 2 cups red grapes
- 1 pint cherry tomatoes
- 1 cup olives
- 1 cup mixed nuts
This comes out to around $35-45 depending on where you shop and what cheese you use. Way less than catering, and honestly more impressive.
Grazing cups aren’t complicated. Once you’ve built a few, you’ll figure out your own shortcuts and combinations. The basic rule is the same as any charcuterie board: mix textures, mix flavors, and don’t forget something sweet. The cup is just the delivery method — everything else is just good food.