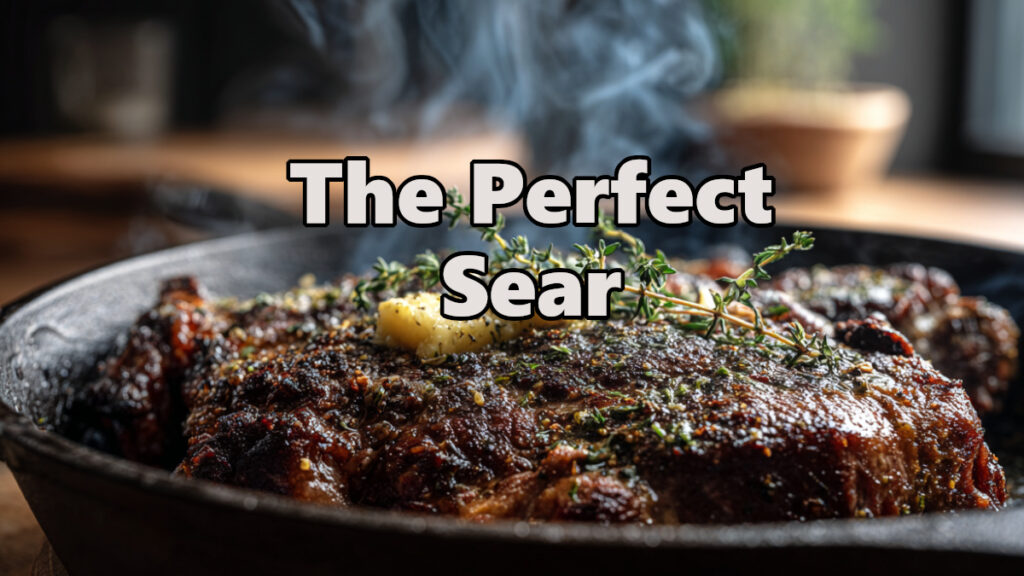
You drop a steak in your non-stick pan, cook it through, and end up with something that looks more boiled than seared. The color is pale, the surface is a little soft, and that deep brown crust you get at a steakhouse is nowhere to be found. Sound familiar?
Here’s the thing: it’s not your steak. It’s your pan. Non-stick cookware is genuinely great for eggs, fish, and delicate stuff. But when it comes to getting a real, crackling, dark crust on a steak, it works against you at every turn. Cast iron and carbon steel are a completely different story, and once you understand why, you’ll never go back.
Why Non-Stick Pans Can’t Sear a Steak
A great sear comes down to one thing: the Maillard reaction. That’s the chemical process where proteins and sugars on the surface of the meat hit high heat and transform into hundreds of new flavor compounds, building that deep brown, complex crust. It needs serious, sustained heat to happen fast.
Non-stick pans have two problems. First, most of them are not rated for the temperatures you need. Manufacturers typically cap non-stick cookware at around 400-450°F to protect the coating. Second, even when you push the heat, non-stick surfaces don’t retain or radiate heat the way bare metal does. The moment your cold steak hits the pan, the surface temperature drops and you lose momentum. The steak starts to steam in its own moisture before the crust ever has a chance to form.
Cast iron and carbon steel don’t have either of those problems.
What Actually Makes a Great Sear
Before we talk pans, let’s talk about the variables you control. The pan matters a lot, but these factors matter just as much.
Bring the Steak Closer to Room Temperature
A steak that goes straight from the fridge into a hot pan is fighting against you. The outside will overcook before the center comes up to temperature. Pull your steak out of the fridge 30-45 minutes before you cook it. It doesn’t need to be room temperature, just not ice cold.
Dry the Surface of Your Steak
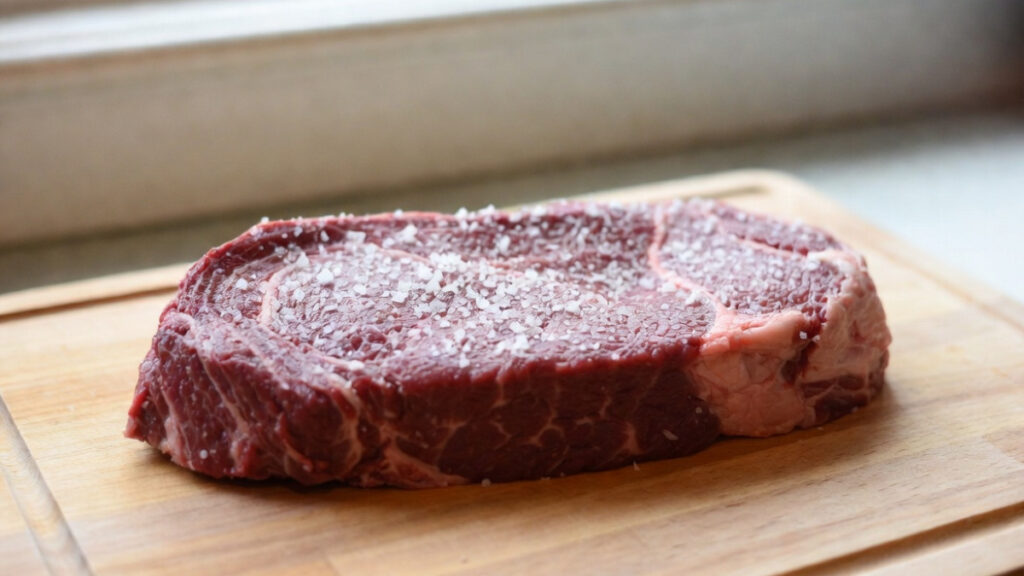
This is the single biggest thing most home cooks skip. Moisture on the surface of your steak has to evaporate before any browning can happen. Pat your steak completely dry with paper towels before it goes anywhere near the pan. If you have time, salt your steak and leave it uncovered in the fridge for at least an hour (overnight is even better). The salt draws out moisture, which then gets reabsorbed along with the salt. The surface ends up drier and the seasoning goes deeper.
Get the Pan Screaming Hot First
Don’t put your steak in a cold or even warm pan. Preheat your cast iron or carbon steel over medium-high heat for at least 3-5 minutes before the steak goes in. You want the pan to be uniformly hot, not just hot in the middle directly over the burner. You’ll know it’s ready when a drop of water instantly vaporizes and skitters across the surface.
Use the Right Fat
Skip the butter for the initial sear. Butter has a low smoke point and will burn before you hit searing temperatures. Use a high smoke point oil for the sear itself: avocado oil, refined coconut oil, grapeseed oil, or plain vegetable oil all work well. Once the steak is almost done, that’s when you add butter, garlic, and herbs for basting.
Don’t Move the Steak
Put it down and leave it alone. A steak will release from the pan naturally when the crust has properly formed. If you try to move it and it’s sticking, it’s not ready to flip. Give it another 30-60 seconds and try again.
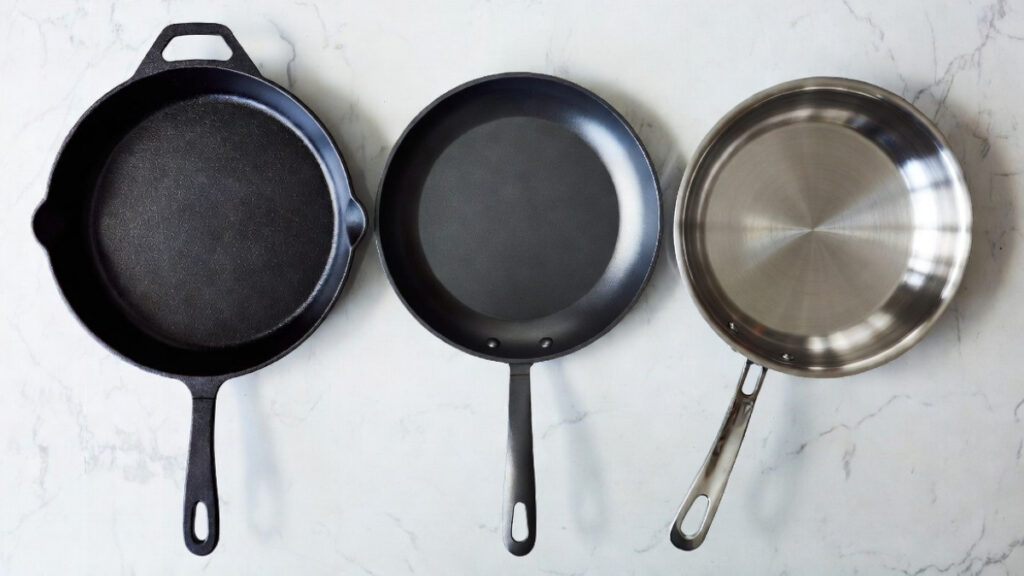
Cast Iron vs. Carbon Steel vs. Stainless: Which Is Best for Searing?
All three of these will crush a non-stick pan for searing. But they each have their own personality.
Cast Iron
Cast iron is the classic choice and the most forgiving. It’s heavy, it holds heat like nothing else, and it’s nearly indestructible. Once it’s hot, it stays hot, which means a more consistent sear across the whole surface of the steak. It’s slower to heat up and slower to cool down, which actually works in your favor here.
Cast iron is also the best option for finishing a steak in the oven, which is a great technique for thicker cuts. Just preheat your oven to 400-450°F, sear on the stovetop, then transfer the whole pan directly into the oven to finish cooking.
Best for: Ribeyes, NY strips, thick cuts, anyone who wants low-maintenance, durable cookware.
Carbon Steel
Carbon steel is cast iron’s lighter, more responsive sibling. It heats up faster, responds to temperature changes more quickly, and is significantly lighter, which makes it easier to tilt and baste. Professional kitchens run carbon steel for a reason. The trade-off is that it requires the same seasoning maintenance as cast iron and it’s thinner, so it’s slightly less forgiving if your heat isn’t even.
Best for: Anyone comfortable in the kitchen who wants more control and faster response. Great for restaurants-style cooking at home.
Stainless Steel
A thick stainless steel pan, particularly a tri-ply or fully clad pan, is also a solid searing option. It doesn’t require seasoning, it’s dishwasher safe, and it can handle very high heat. The downside is that sticking is more common if you don’t let the pan get fully hot or if you try to flip too early. With stainless, the “steak will release when it’s ready” rule is especially important.
Best for: Cooks who don’t want to deal with seasoning, or anyone who already has a quality stainless pan.
The Best Pans for Searing Steak
Here are the specific pans worth putting your money into. These are all pans I’d actually use and recommend.
Cast Iron Picks
Lodge 12-Inch Cast Iron Skillet Lodge is the benchmark for affordable cast iron. It comes pre-seasoned, it’s made in the USA, and it will outlast you if you take care of it. The 12-inch size gives you enough room to sear a large steak without crowding. This is the one to start with if you don’t already own a cast iron pan.
Le Creuset Signature Skillet If you want to step up, Le Creuset’s cast iron skillet is heavier, smoother, and has better heat distribution than most budget options. It’s a serious investment but a lifetime pan. The enameled interior means no seasoning required, though the trade-off is a slightly lower max heat tolerance than bare cast iron.
Stargazer Cast Iron 10.5-Inch Skillet Stargazer is a smaller American brand making cast iron with a polished cooking surface that’s noticeably smoother than Lodge right out of the box. Great seasoning adherence and a well-designed handle. Worth the price bump if you want something between Lodge and Le Creuset.
Carbon Steel Picks
Made In Blue Carbon Steel Skillet Made In has become one of the most respected names in cookware for home cooks who want professional-grade gear. Their carbon steel skillet heats evenly, seasons well, and the design is genuinely comfortable to use. One of the best options in this category.
Matfer Bourgeat Black Carbon Steel Pan This is what you’ll find in professional kitchens. It’s not pretty, it’s not flashy, and it needs to be properly seasoned before use, but it’s one of the most capable pans you can own. If you’re serious about cooking, this pan will reward you.
De Buyer Mineral B Carbon Steel Skillet Another professional-grade French carbon steel pan with a beeswax coating to protect it during shipping. Excellent heat retention, comfortable handle, and it gets better with every use as the seasoning builds up.
Stainless Steel Picks
All-Clad D3 Stainless Steel Fry Pan All-Clad’s tri-ply construction means the heat spreads evenly from edge to edge, which matters a lot for searing. It’s oven safe to 600°F, dishwasher safe, and will last decades. If you’re building a pan collection, an All-Clad fry pan should be in it.
Made In Stainless Clad Frying Pan Made In’s stainless line is a strong alternative to All-Clad at a slightly lower price point. Five-ply construction, beautiful finish, and fully oven safe. Another great option if you want stainless without the premium price tag.
Step-by-Step: How to Sear a Steak in Cast Iron
Here’s the full process from start to finish.
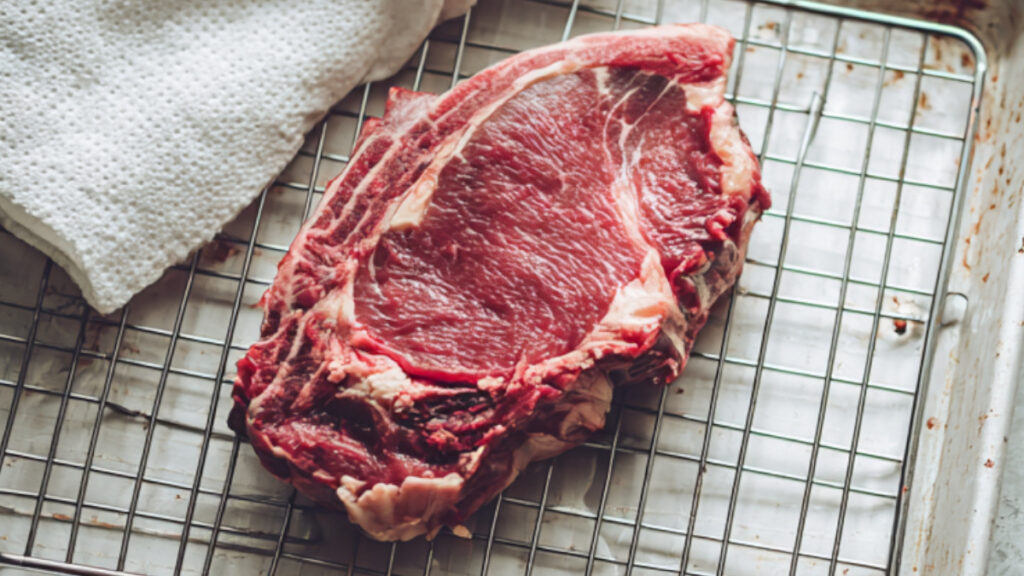
1. Prep the steak (up to 24 hours ahead) Salt both sides generously and place on a wire rack uncovered in the fridge. Pull it out 30-45 minutes before cooking.
2. Dry the surface Pat the steak completely dry with paper towels right before cooking. Don’t skip this.
3. Preheat the pan Set your cast iron over medium-high heat for 3-5 minutes. The pan should be uniformly hot.
4. Add your oil Add a thin layer of high smoke point oil and let it heat until it just starts to shimmer or smoke lightly.
5. Sear Lay the steak away from you into the pan. Don’t move it. Let it cook 2-4 minutes depending on thickness until a dark brown crust forms and the steak releases cleanly from the pan. Flip once.
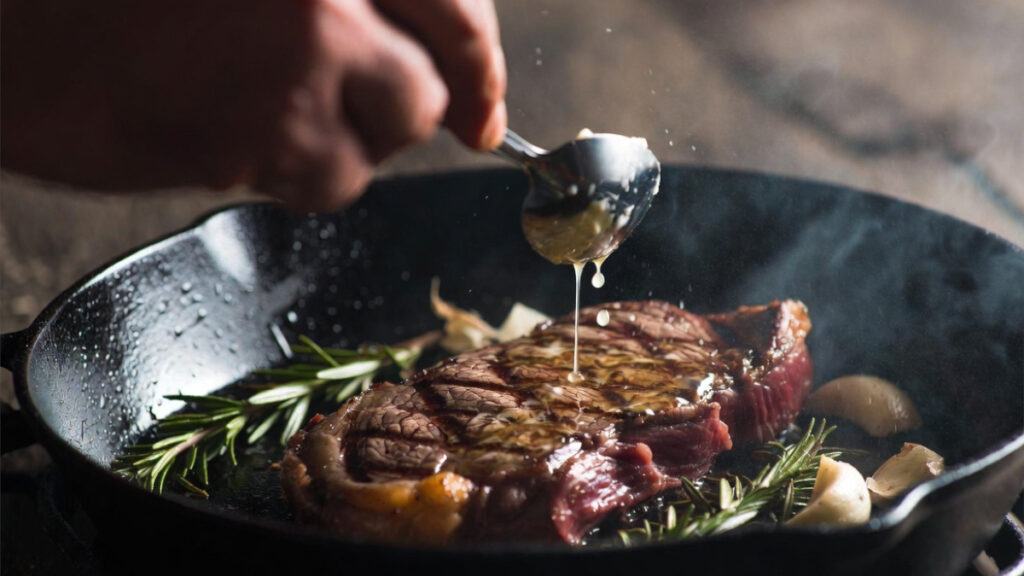
6. Baste After flipping, add 2 tablespoons of butter, a few garlic cloves, and fresh thyme or rosemary. Tilt the pan and spoon the melted butter over the steak continuously for another 1-3 minutes.
7. Rest Pull the steak off heat and let it rest for at least 5 minutes before cutting. This lets the juices redistribute instead of running out all over your cutting board.
Want precise temperature measurement on your steak? Use a leave-in wireless thermometer like I do so you always know exactly what temperature your steak is at!
Tips for an Even Better Crust
- Use a meat thermometer. Stop guessing. Pull your steak at 125°F for medium-rare. It’ll carry over to 130-135°F while resting.
- Season with more salt than you think. A thick steak needs more salt than you’re probably using. Season all surfaces including the edges.
- Don’t crowd the pan. If you’re cooking two steaks, use a large enough pan or cook them one at a time. Crowding drops the pan temperature and causes steaming.
- Sear the edges too. Use tongs to hold the steak on its edge for 30-60 seconds. Especially useful on cuts with a fat cap.
- Don’t waste the fond. Those brown bits stuck to the bottom of the pan after the steak comes out? That’s flavor. Deglaze with a splash of beef broth or red wine and you’ve got a quick pan sauce.
Frequently Asked Questions
Can I use my cast iron pan on a glass or induction cooktop? Cast iron works on induction cooktops but it’s not ideal on glass/ceramic stovetops because the rough bottom can scratch the surface. If you have a glass cooktop, carbon steel or stainless are better choices since they tend to have smoother bottoms.
Do I need to season my cast iron before I use it? Most cast iron sold today comes pre-seasoned, including Lodge. That said, the seasoning improves with use. After cooking, wipe it out while still warm, dry it completely, and rub a thin layer of oil into the surface.
Why is my steak sticking to the pan? Either the pan wasn’t hot enough when the steak went in, or you tried to move it before the crust formed. A properly hot pan and patience solve both problems. The steak will tell you when it’s ready to flip.
Can I sear a steak in a regular stainless steel pan (not tri-ply)? You can, but thin stainless pans have hot spots and uneven heat distribution that makes it harder. Tri-ply or fully clad stainless is worth the investment if you go that route.
What’s the best thickness for searing a steak? At least 1 inch, ideally 1.5 inches or more. Thin steaks overcook before the crust has time to develop. Thicker cuts give you the margin to get a great crust while keeping the center at the doneness you want.
The Bottom Line
Your non-stick pan is not the problem. It’s just the wrong tool for this job. A cast iron skillet, a carbon steel pan, or a quality stainless pan will get you results that a non-stick simply cannot deliver. Combine the right pan with a dry surface, a screaming hot preheat, and the patience to let the crust form before you flip, and you’re cooking steaks at home that will make you stop paying steakhouse prices.
Got questions about your specific pan or setup? Drop them in the comments below. And if this helped, pin it for later and share it with whoever keeps making pale, sad steaks.